
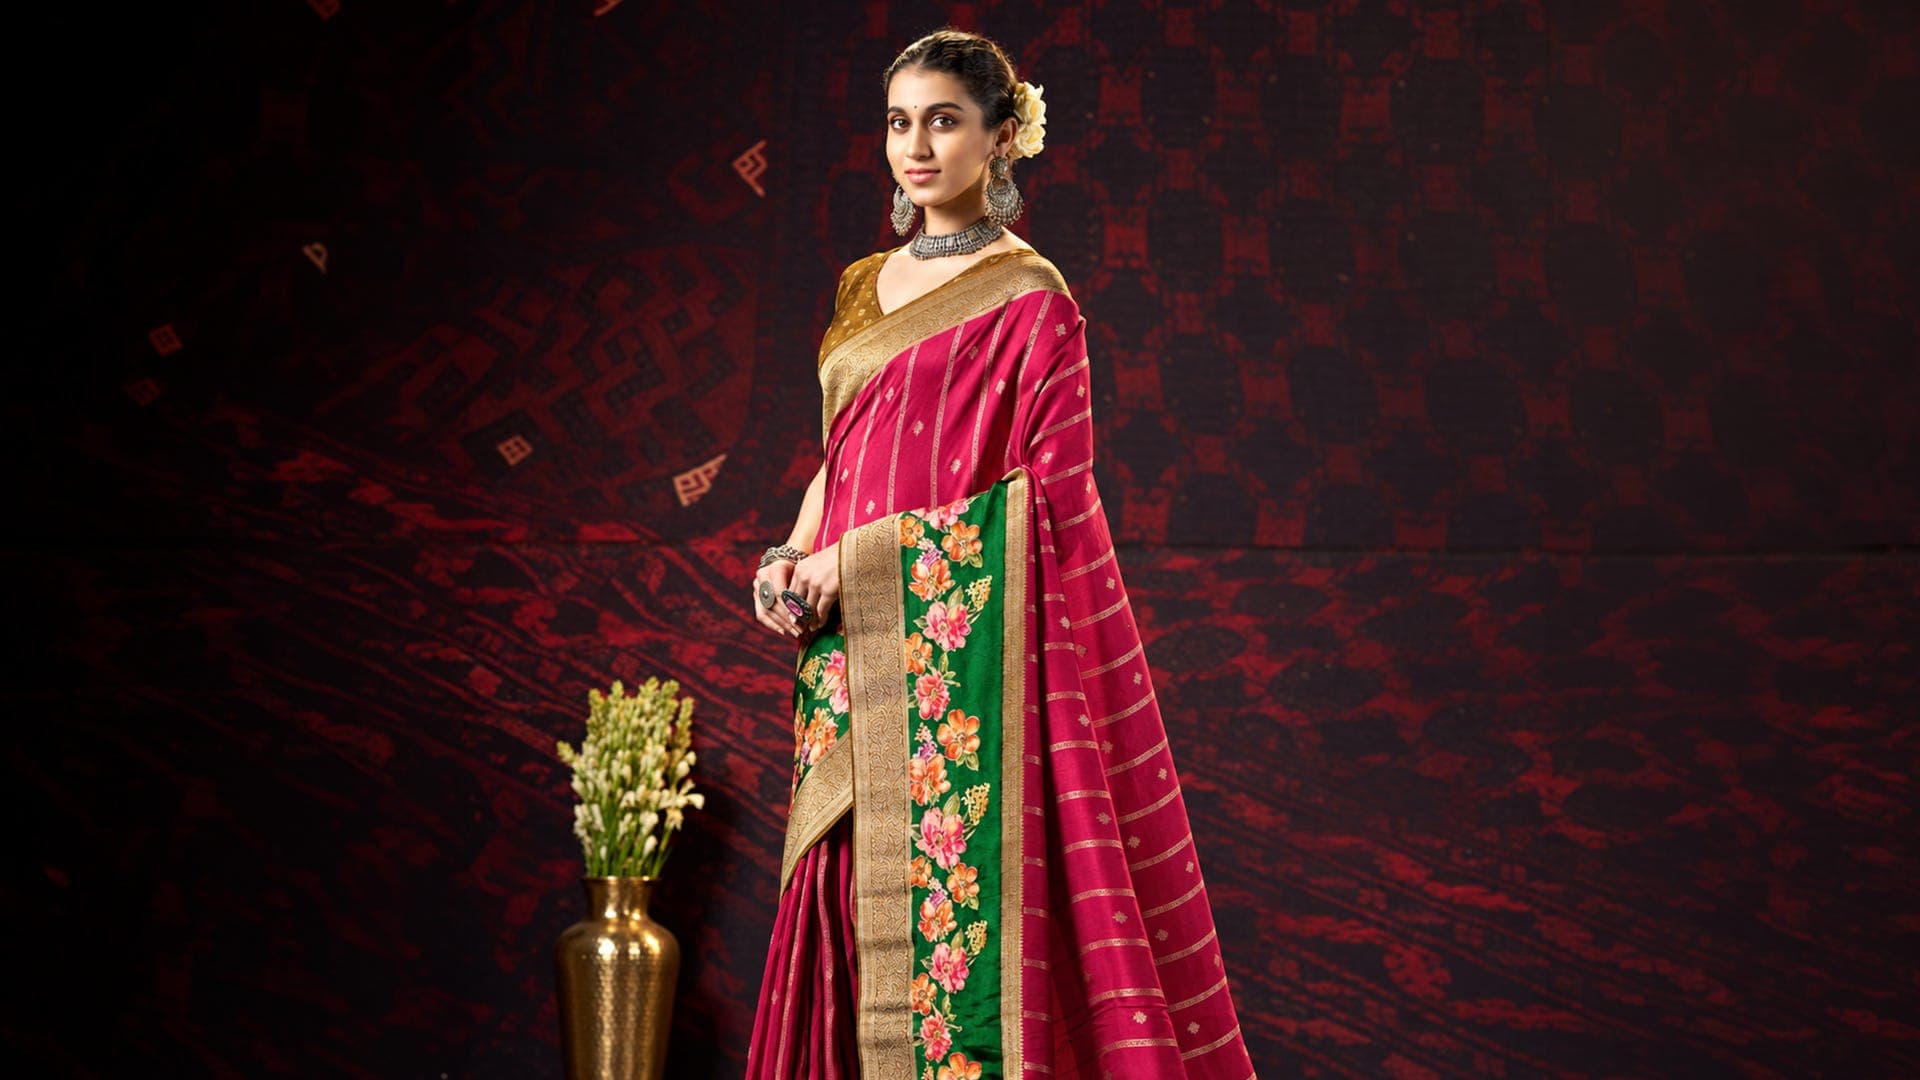

Pleating a saree means folding the fabric into 5–7 even pleats, approximately 4–5 inches wide, and tucking them securely at the navel. These folds create the neat fall at the front of a traditional saree drape.
If you have ever stood in front of a mirror trying to get one pleat to match the next, you already know that the folds can be trickier than they look. One sits perfectly, another twists, and suddenly the border looks uneven.
Knowing the order of the steps makes it easier to learn how to pleat a saree: wrap the first part, fold the pleats in the front, secure the pleats and arrange the pallu.
It guides you through each stage, offers fabric specific advice, and simple fixes for pleats that just won't stay put. Before you go for a more elaborate look from the Garden Vareli’s collection of sarees, you can try a simple everyday saree.
What You Need Before You Start
Keep everything ready before making the first tuck.
- 01Saree: Choose one you can handle comfortably. Beginners can practise with casual wear sarees before trying heavier fabrics.
- 02Petticoat: Wear a well-fitted petticoat with a waistband firm enough to support the pleats.
- 03Blouse: Put on your fitted blouse before draping.
- 04Safety pins: Keep a few small pins nearby to secure the pleats and pallu.
- 05Full-length mirror: Use it to check the hemline and overall fall.
- 06Footwear: Wear the shoes or heels you plan to use so the saree length is correct.
How to Do Saree Pleats: Step-by-Step
If you are wondering how to do saree pleats for everyday dressing or an occasion that calls for party wear sarees, begin with the classic Nivi-style drape. Follow these four steps before arranging the pallu.
Step 1: Tuck the Saree and Make the First Wrap
Start with the plain end of the saree, leaving the decorative pallu for later. Tuck the upper edge into your petticoat slightly to the right of your navel.
Take the fabric around your waist from right to left, completing one full wrap and returning to the front. Keep tucking the upper edge as you go.
The lower border should lightly graze the floor without dragging.
Step 2: Gather and Fold Even Pleats
Gather the loose fabric at the front and begin folding it back and forth, like an accordion.
Make approximately 5–7 pleats, each 4–5 inches wide. Hold the folds between your thumb and fingers, keeping their upper edges together.
Check the bottom border after every few folds. All the pleats should end at roughly the same height.
Lightweight georgette sarees can create a fluid fall when folded evenly.
Step 3: Secure the Pleats and Tuck at the Navel
Hold the completed pleats together at the top, with the folds facing towards your left.
Pass a small safety pin through the upper portion of the pleats to stop them from separating. Keep the pin concealed within the folds.
Now tuck the gathered fabric firmly into your petticoat at the navel, slightly left of centre.
The pleats should hang vertically rather than spreading unevenly across your waist.
Step 4: Check the Fall and Adjust the Length
Turn away from the mirror and look at the pleats from the waist down to the hem.
The bottom border should just clear the floor when you stand naturally. They should hang straight down. If one pleat is lower, lift it up and adjust it, then refasten the tuck.
Move a few steps to see that the fabric moves comfortably. So once the front is neat, arrange the pallu.
How to Get Perfect Saree Pleats: Pro Tips
The trick to perfect pleats in a saree is to ensure that each fold is of equal width, the lower edges of each fold are aligned and that the pleats are stitched without pulling the fabric too tight.
Take an ironed or steam pressed saree as per the care instructions. This prepares creases for removal. Use a fabric-appropriate temperature and avoid direct high heat with lightweight chiffon sarees.
Use your thumb and index finger to measure each fold, not guess. Hold on to the top firmly, but let the fabric hang naturally.
Place the safety pin close to the upper edge so that it can stay hidden.
Ever wondered how you can get perfect pleats in saree draping always? Practice the front folds by yourself for a few minutes. Doing the same movement over and over forces you to develop a more consistent technique.
How to Pleat the Pallu
A neatly pleated pallu gives the saree a more structured finish, particularly for formal occasions and celebrations.
- 01Bring the remaining fabric around your back, under your right arm and across your front towards your left shoulder.
- 02Measure the pallu length before folding. Let the decorative end hang down your back to a comfortable level, often around the knee.
- 03Gather the pallu into even lengthwise folds, adjusting their width to sit comfortably across your shoulder.
- 04Place the pleated section over your left shoulder and secure it discreetly to your blouse with a safety pin.
- 05Smooth the folds across your chest and check that the hanging end falls evenly.
For festive wear sarees, a neatly arranged pallu can show off the border while keeping the drape manageable during celebrations.
Saree Pleating Tips by Fabric
Fabrics fold differently. Some come down gently, others have a more definite form.
Slippery and lightweight fabrics: Organza sarees are crisp and sheer but can be difficult to manage for their volume and may need careful pinning. The surface of satin sarees is smooth and the pleats move up and down. Fluid crepe may also require additional support, depending on how it’s constructed. Use light pins, and don't pull too tight on delicate fabrics.
More structured fabrics: Some silk sarees, cotton linen sarees and linen sarees can be molded into more defined folds. If you drape them properly before you press them, you will make sharper pleats. Thicker fabrics can create bulk at the waist, so don’t fold too many times.
The best way to do this is to vary the number and width of the pleats according to the weight and fall of the fabric.
Common Saree Pleating Mistakes and How to Fix Them
Uneven pleats: If the front looks messy, unfold the fabric and make all the pleats the same width. Pin after aligning lower borders.
Pleats opening at the bottom: Ensure the folds are aligned and the top is properly fastened. A hidden pin can be used to hold them together.
Saree too long or too short : Adjust the first tuck around the waist with the footwear you are wearing. Do not fix the length by pulling individual pleats.
Twisted pleats: Release the folds, straighten the fabric and refold without rotating your wrist.
For office wear sarees, check the pleats after sitting and walking so the drape remains neat through the day.
Shop Sarees at Garden Vareli
A beautiful drape begins with choosing a fabric you enjoy wearing. Garden Vareli brings decades of textile experience to its sarees, with an emphasis on prints, colours and fabrics suited to different occasions.
Explore its crepe sarees or compare fabric characteristics in the Types of Saree Fabric Guide before choosing your next saree.
Conclusion
Learning saree pleating takes a little patience, but the method is straightforward. Start with a secure waist wrap, make 5–7 even front pleats, tuck them at the navel and arrange the pallu over your shoulder.
Practise with a familiar fabric until the folds begin to feel natural.
For neat saree pleats, keep the folds even, align the hem and secure the waist and pallu properly.
Frequently Asked Questions
01.How Many Pleats Are There In A Saree?+
02.What is the width of saree pleats?+
03.How to prevent pleats in a saree from opening or getting loose?+
04.Is it easy to pleat a slippery saree like organza or chiffon or not?+
05.Which side do saree pleats face when tucked?+
06.How do I prevent the pallu pleats from coming apart?+
end of story